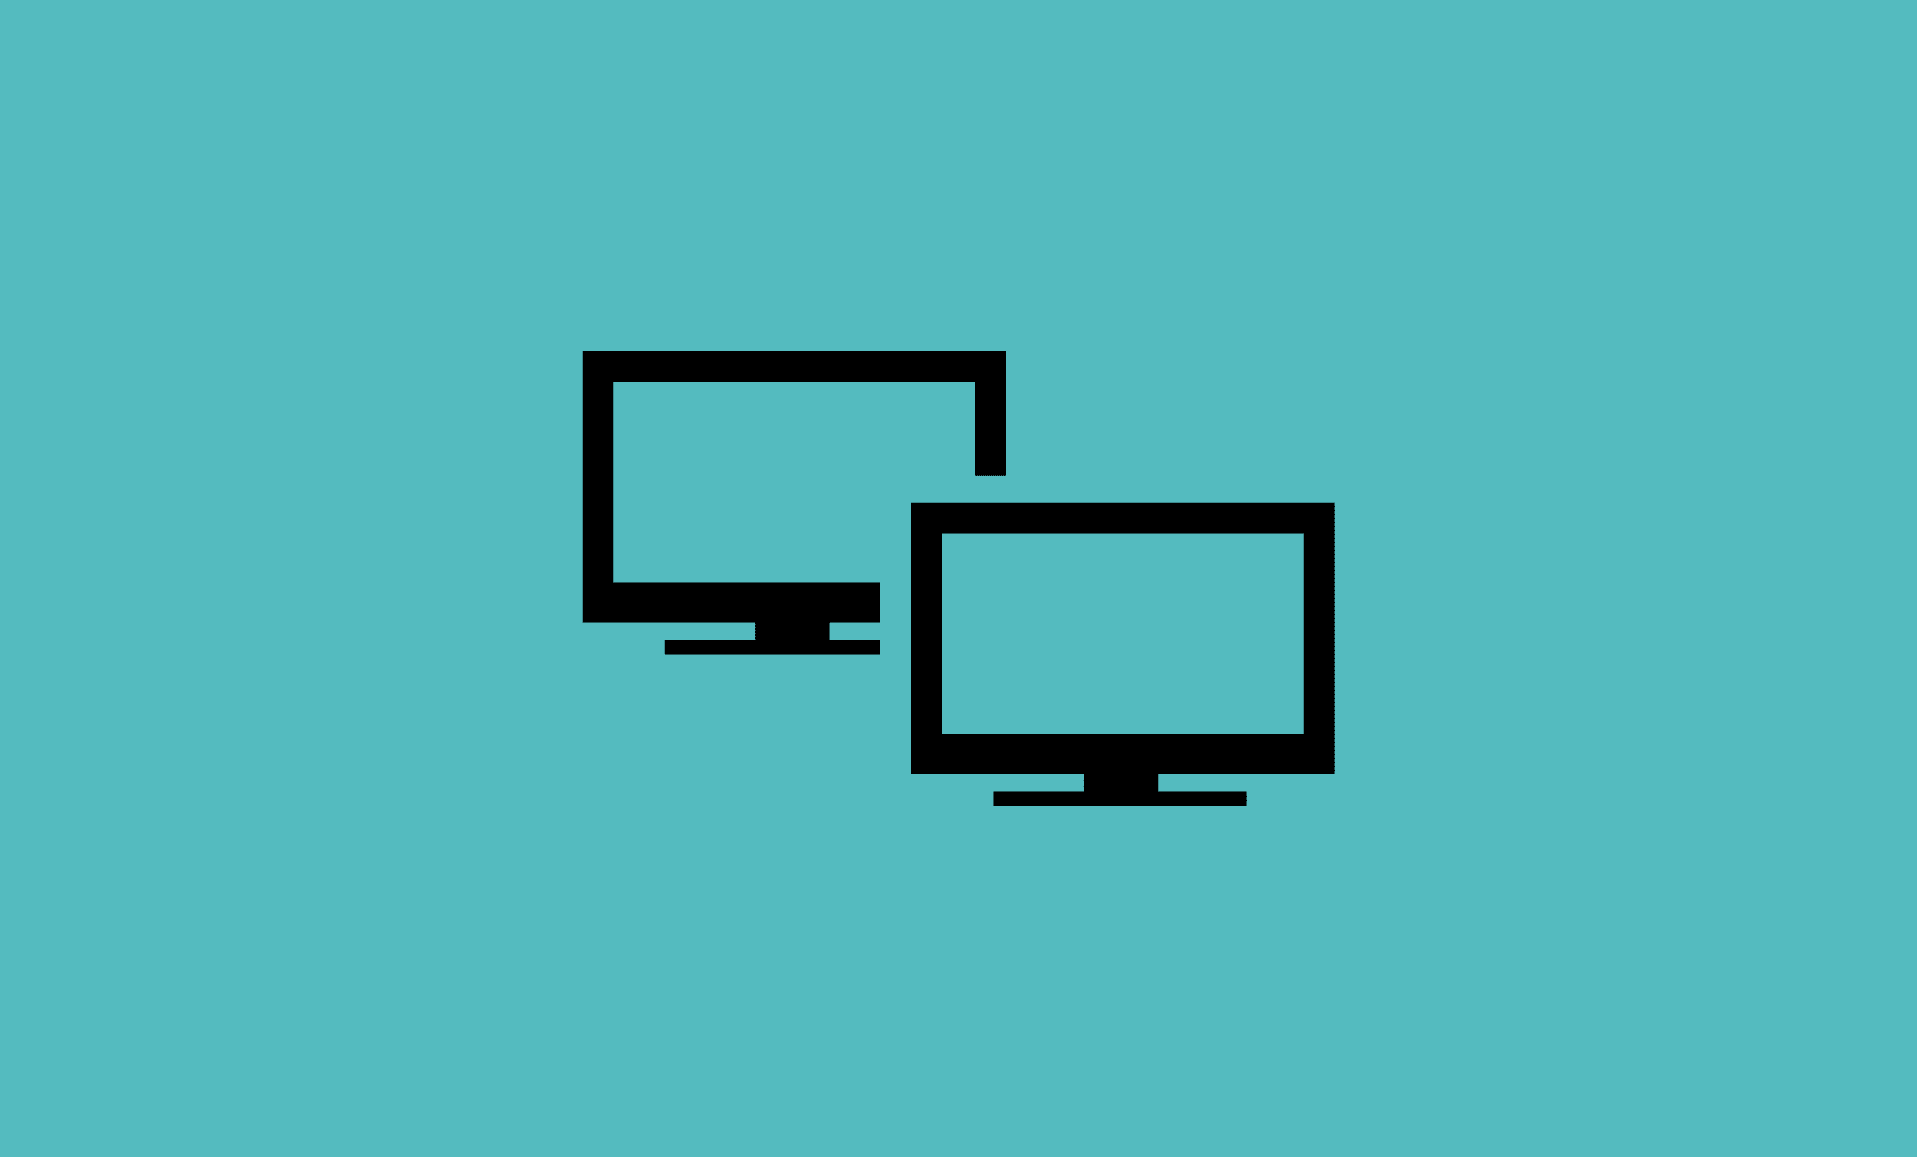
Having a dual monitor setup can offer great multitasking benefits and help boost the productivity.
However, if you have recently updated your PC to Windows 11, and now it is not detecting second monitor, (external monitor) in case of laptop, then this could be due to either some random bugs or setting issues or cable problem. Worry not, we have got you covered!
So without any further ado, let’s go through methods to fix this problem so your computer running on Windows 11 can identify and detect your second monitor.
- Physical Checks
- Update Display Drivers
- Force Detection of Second Monitor
- Check Display Input
- Change Display Frequency
Fix # 1: Physical Checks
Before performing any changes in system settings, we recommend that you perform some physical checks because there is possibility that your PC is not detecting external monitor owing to cable issue etc.
- Check that the display is turned on.
- Inspect the HDMI or USB-C or Display Cable that you are using to connect your monitor to your PC.
- Try connecting the monitor with some other cable.
If after performing above steps, you are still having issues, then try the below-mentioned fixes.
Fix # 2: Update Display Drivers
Open Windows Run by pressing “Windows + R” keys on keyboard.
Type “devmgmt.msc” and hit Enter to open Device Manager.
Click on “Display adapters” to expand it. There, you will see your display driver. Right click on it and click on “Update driver” option in menu.
Select “Search automatically for drivers” option.
Fix # 3: Force Detection of Second Monitor
Open Settings using “Windows + I” keys. Click on “System” in the left sidebar.
Click on “Display” in right panel.
Now click on “Multiple display” options. There you will see “Detect” button. Click on it.
Hopefully, your Windows 11 PC will not detect the external display.
Fix # 4: Check Display Input
Make sure that correct input port is selected on your display setting. For example, if your display has multiple ports for connection like HDMI and Display Port, and you are using HDMI for connecting it with your computer, then make sure that HDMI is selected on display settings as input port.
To confirm the display input selected on your monitor, you need to open display controls on your monitor using the physical buttons on it. They are usually at the bottom, next to power button.
Fix # 5: Change Display Frequency
If you have dual monitor setup, with each monitor set to run on different frequency, then Windows 11 won’t recongize them. So you need to have same frequency for both. To do that, follow these steps:
Open Windows Run by pressing “Windows + R” key. Type “desk.cpl” and hit Enter to open display settings.
Click on “Advanced display”. Under “Select a display to view or change its settings” option, choose “Display 1” from dropdown.
Change its refresh rate to whatever you like.
Now select “Display 2” in “Select a display to view or change its settings” option.
Again select the refresh rate for it and make sure it is same as you selected for Display 1. For example, if you have selected 50 Hz for Display 1, you should select 50 Hz for Display 2 as well.
Recommended:
- Fix Intel Wireless AC 9560 Not Working Error in Windows 11
- Fix Programs Not Opening Due to Missing MSVCR110.DLL Error in Windows 11
- Fix IRQL_NOT_LESS_OR_EQUAL Error in Windows 11
Conclusion
We hope that above mentioned fixes were helpful to you in troubleshooting the external display not working in Windows 11 issue.