MSVCP140.dll is Windows DLL file which contains various packages that are essential for running C++ applications and games.
MSVCP140.dll comes pre-installed on Windows 11, however, if it gets corrupted or deleted, you might get errors like this when you try to launch any game or program:
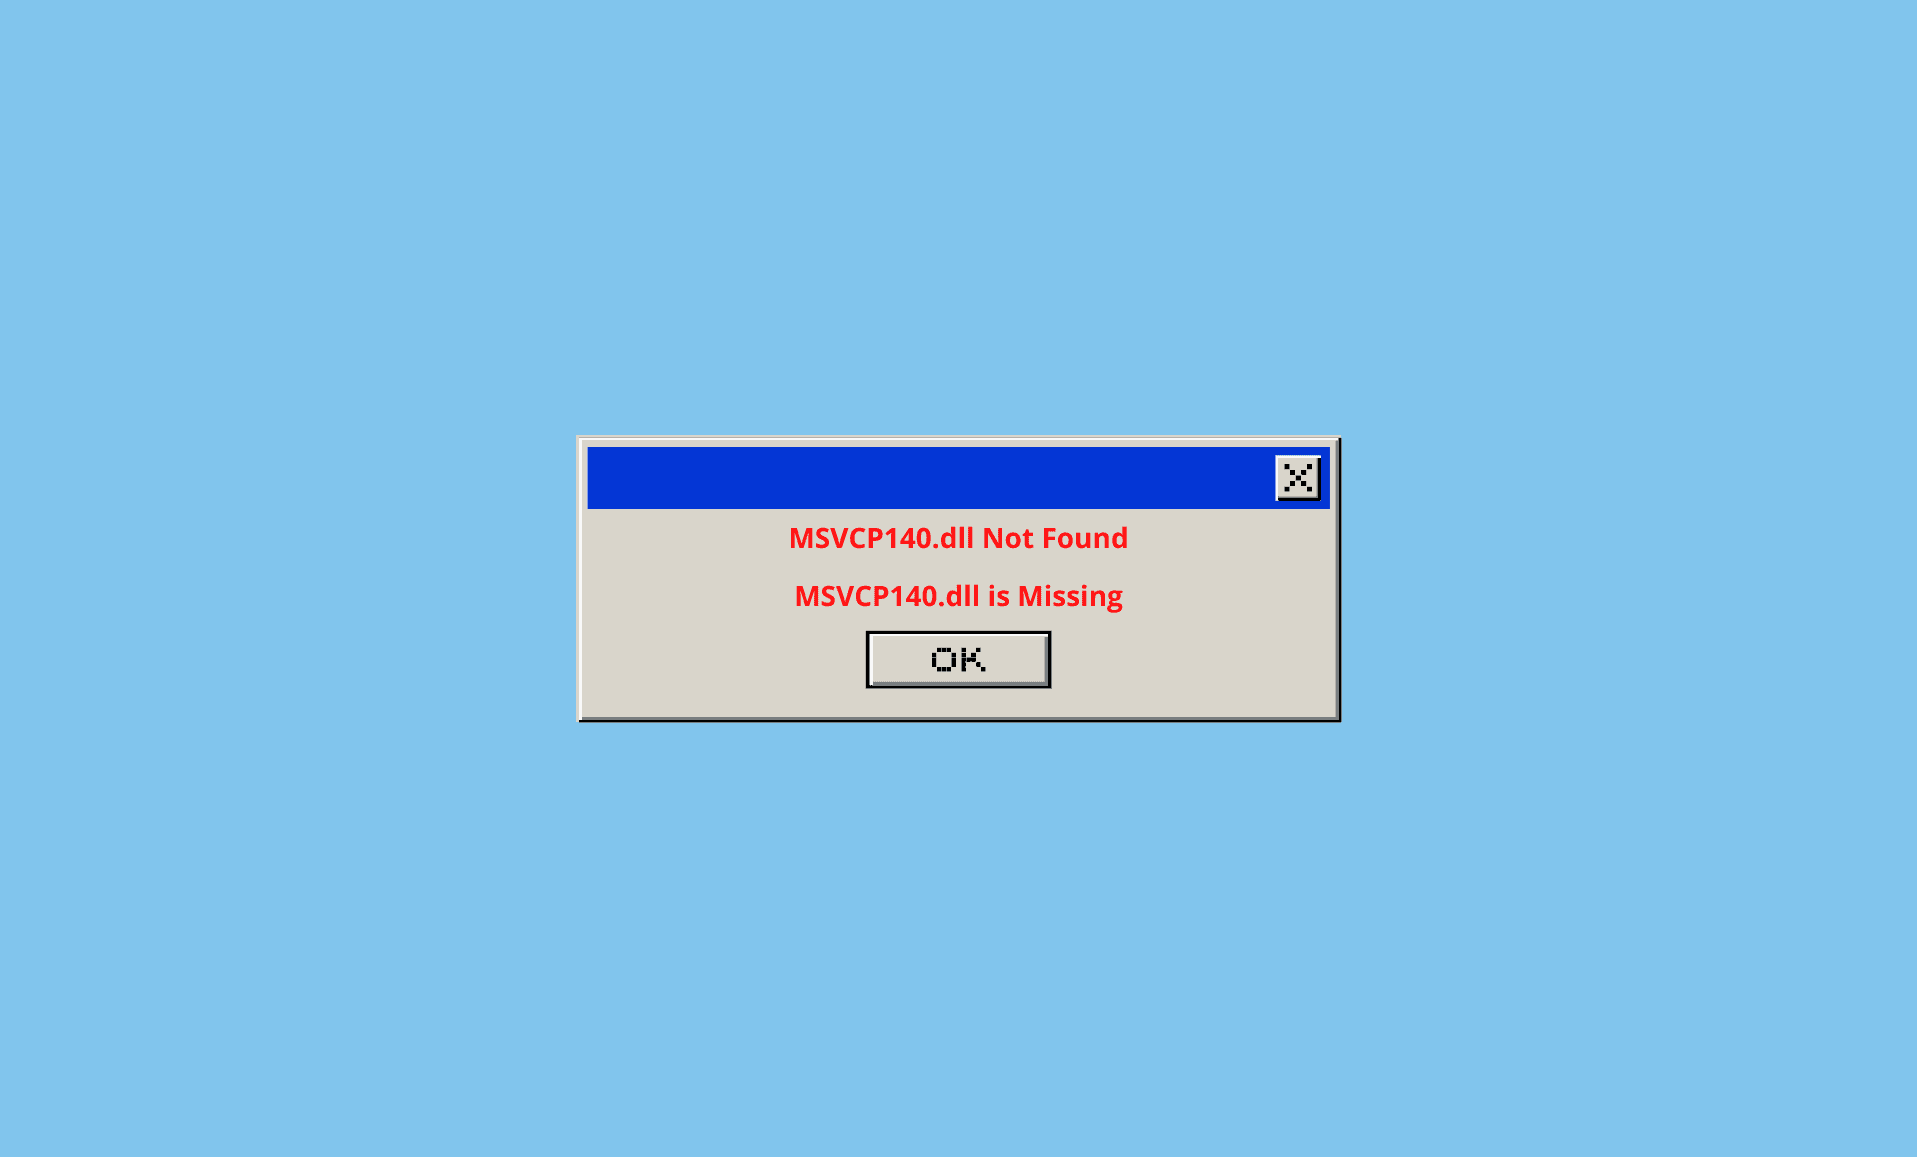
The code execution cannot proceed because MSVCP140.dll was not found. Reinstalling the application may fix this problem.
The program can’t start because MSVCP140.dll is missing from your computer. Try reinstalling the program to fix this problem.
So how do you fix this issue? Well, there are 5 methods to fix MSVCP140 errors on your PC:
- Run System File Checker (SFC)
- Install Visual C++ for MS Visual Studio 2015
- Install Windows 11 Updates
- Re-Install the Application or Game Causing Error
- Scan your PC for Viruses
Fix # 1: Run System File Checker (SFC)
Open “Start Menu” and type “cmd”. Right-click it and select “Run as administrator” option.
Type this command in the Command Prompt window:
sfc /scannow
Once the above process is complete, type this command:
DISM.exe /Online /Cleanup-image/ Restorehealth
Restart your PC.
Fix # 2: Install Visual C++ for MS Visual Studio 2015
Just like VCRUNTIME140.dll, MSVCP140.dll is also part of Visual C++ Redistributable for MS Visual Studio 2015.
This package is automatically installed on your PC when you update to Windows 11. So re-installing it again will fix the corrupted or missing MSVCP140.dll file.
Download Microsoft Visual C++ 2015 Redistributable from official Microsoft website.
Depending on your PC processor, select either 64-bit or 32-bit installer and click on “Download” button.
Once download is completed, double click the vs_redist_xx.exe file to open installation wizard.
Agree to terms and conditions and click on “Install‘ button.
Reboot your PC after installation is completed.
Fix # 3: Install Windows 11 Updates
Press “Windows Key + I” together to open Settings.
Click on “Windows Update” section.
Now, click on “Check for updates” button to install latest updates, if available.
Fix # 4: Re-Install the Application or Game Causing Error
Most of the times, Windows programs and games also contain the correct MSVCP140.dll version. So if it gets corrupted during installation, you can fix it by re-installing the app/game again.
However, make sure you first uninstall it completely. To do that, open “Settings” on your PC using “Windows + I” keys.
Type “Apps and Features” in the search box, and then click on “Apps & Features” from search results.
Locate the app that was giving MSVCP140.dll not found or missing error and click on “menu” icon next to it, and then on “Uninstall” option.
Once uninstall is completed, restart your PC and then re-install the app/game again.
Fix # 5: Scan your PC for Viruses
It is possible that the MSVCP140.dll might be corrupted by some virus. If this is the case, then even if you repair it using above fixes, it will get corrupted again unless you remove the virus.
Luckily, Windows 11 comes with built-in Antivirus called Windows Defender. To scan your Windows 11 PC for viruses, follow these steps:
Open Settings using “Windows + I” keyboard keys.
Select “Privacy & security” on the left panel.
Click on “Windows Security” under Security section.
In next window, click on “Open Windows Security” button. On next window, click on “Virus & threat protection” option.
There you will see “Quick scan” button. Click on it to start scanning. Once it is done, restart your computer.
Conclusion
If you are getting MSVCP140.dll not found error on your Windows PC, then try running SFC scan and installing Visual C++ Redistributable for Visual Studio 2015. If it is still not fixed, then check for Windows 11 updates or scan your PC for virus and threats.