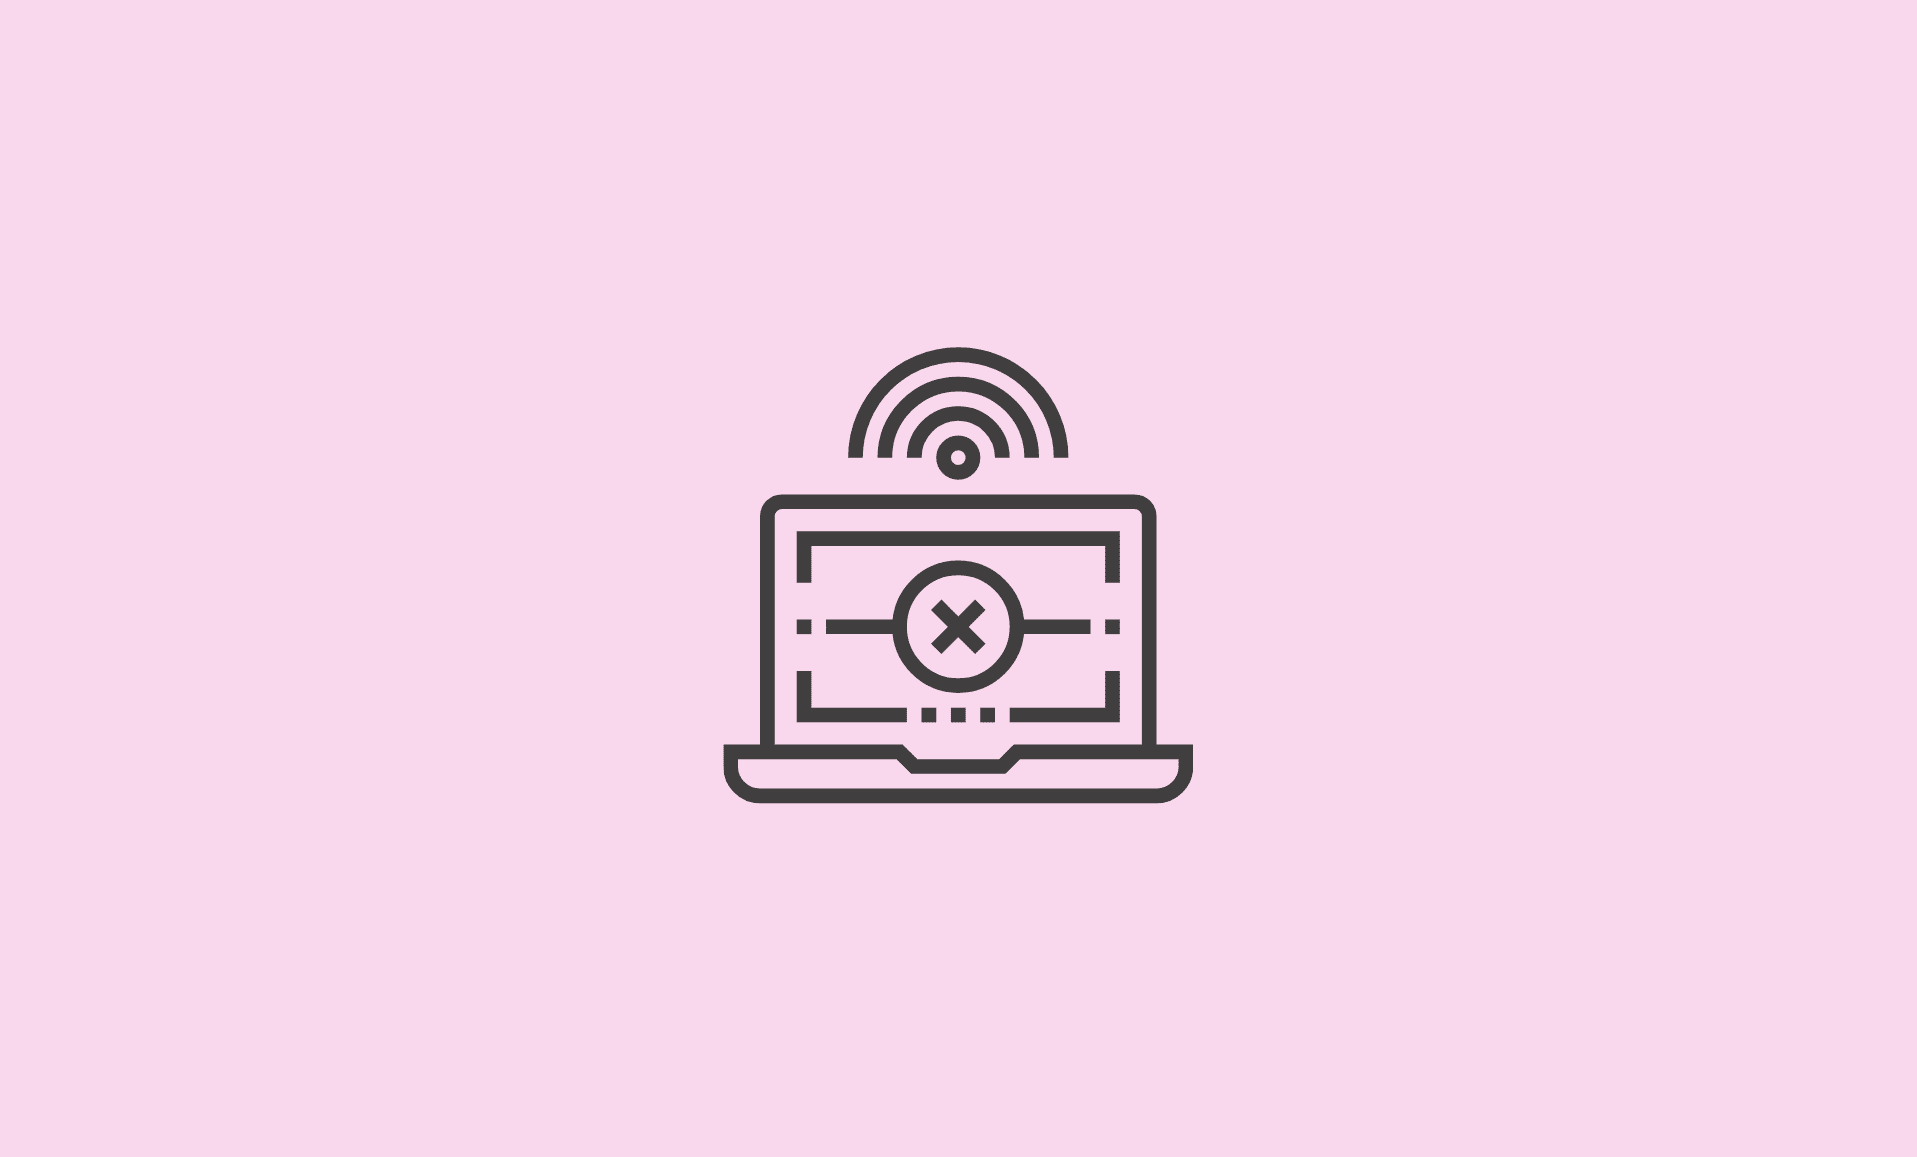
Windows Remote Desktop allows you to connect to another computer running the Windows 10 OS, virtually. But sometimes, you may get the error This Computer Can’t Connect to the Remote Computer when connecting to the remote computer.
This can happen because of windows update on Windows 10 or Windows 11 or if your credentials have been misconfigured.
A simple restart can help solve many problems, so before trying any of the methods below, try restarting your computer.
- Deleting Saved Credentials
- Modify Firewall Settings
- Modify Group Policy setting
- Allow Remote Connections
Method # 01: Deleting Saved Credentials
Installing Windows updates may result in misconfigured saved credentials and as a result, you may face this problem. Deleting saved credentials may be able to help in solving this problem. There are two ways to delete saved credentials, from the Remote Desktop application and from Control Panel.
Deleting Credentials from Remote Desktop Application:
- Open the Start Menu, search Remote Desktop Connection application and open it.
- In the Remote Desktop Connection window, click on Show Options and then select the Advanced tab.
- Under the Connect from anywhere heading, click on the Settings button.
- Then, click on Delete credentials to remove saved credentials.
Deleting Credentials from Control Panel:
You can also delete the saved credentials with this method from Control Panel.
- Open the Run dialog box, type in control and press Enter to open Control Panel.
- In the search bar located at top right corner of the screen, search Credential Manager and select Credential Manager from the results.
- Now, remove the RDP credentials from the list.
Try again to see if the problem persists.
Method # 02: Modify Firewall Settings
Windows Firewall may be blocking the outgoing and incoming connections for the RDP and resulting in this problem. Adding an exception for RDP in Window Firewall may be able to fix this problem.
- Open Windows Defender Firewall settings from Control Panel.
- Click on the Change Settings button and find Remote Desktop.
- Check the box associated with Remote Desktop if it isn’t already. Click OK to save the changes.
Method # 03: Modify Group Policy settings
Connecting to a latest RDP client through an old one may result in this problem because the latest RDP security has changed.
Step # 1: Open the Run dialog box, type in gpedit.msc and press Enter.
Step # 2: Navigate to the following location:
Computer Configuration > Administrative Templates > Windows Components > Remote Desktop Services > Remote Desktop Session Host > Security.
Step # 3: Double click Require use of specific security layer for remote (RDP) connections from the list of policies.
Step # 4: Select Enabled and then select Negotiate from the drop-down menu associated with Security Layer.
Method # 04: Allow Remote Connections
If your system is not configured to allow Remote Connections, you will face this problem. Configuring your computer allow Remote Connections will fix this problem.
- Open Control Panel and search Remote access in the search bar located at the top right corner of the screen.
- Select Allow remote access to your computer.
- Take a moment to ensure that the box associated with Allow Remote Assistance connections to this computer is checked.
- If not, then check it. Click Apply and then OK. Check if the problem persists.
Hopefully, our guide helps you in getting rid of the problem.