Have you connected multiple monitors to your PC? If you are facing the night light not working issue on either of the connected monitors, then there might be issues with the monitor drivers.
If the night light is not working on your display monitors on Windows 10 or Windows 11, then you should update the display drivers.
You should inspect the device manager to see if any of the connected monitors are affected. To confirm this, you should check all the monitors and see if the correct names are displayed.
If you see an improper name for any of these connected monitors, then it is clear that the particular monitor has a display driver issue. To avoid the hassle of manually updating the display drivers from the device manager,
You should download the Auslogics Driver Updater. It will search for all the drivers that are required to be updated and will update your monitor’s drivers if they are required to be. After the monitor’s drivers are updated, now you will be able to see the correct name for your monitor on the device manager.
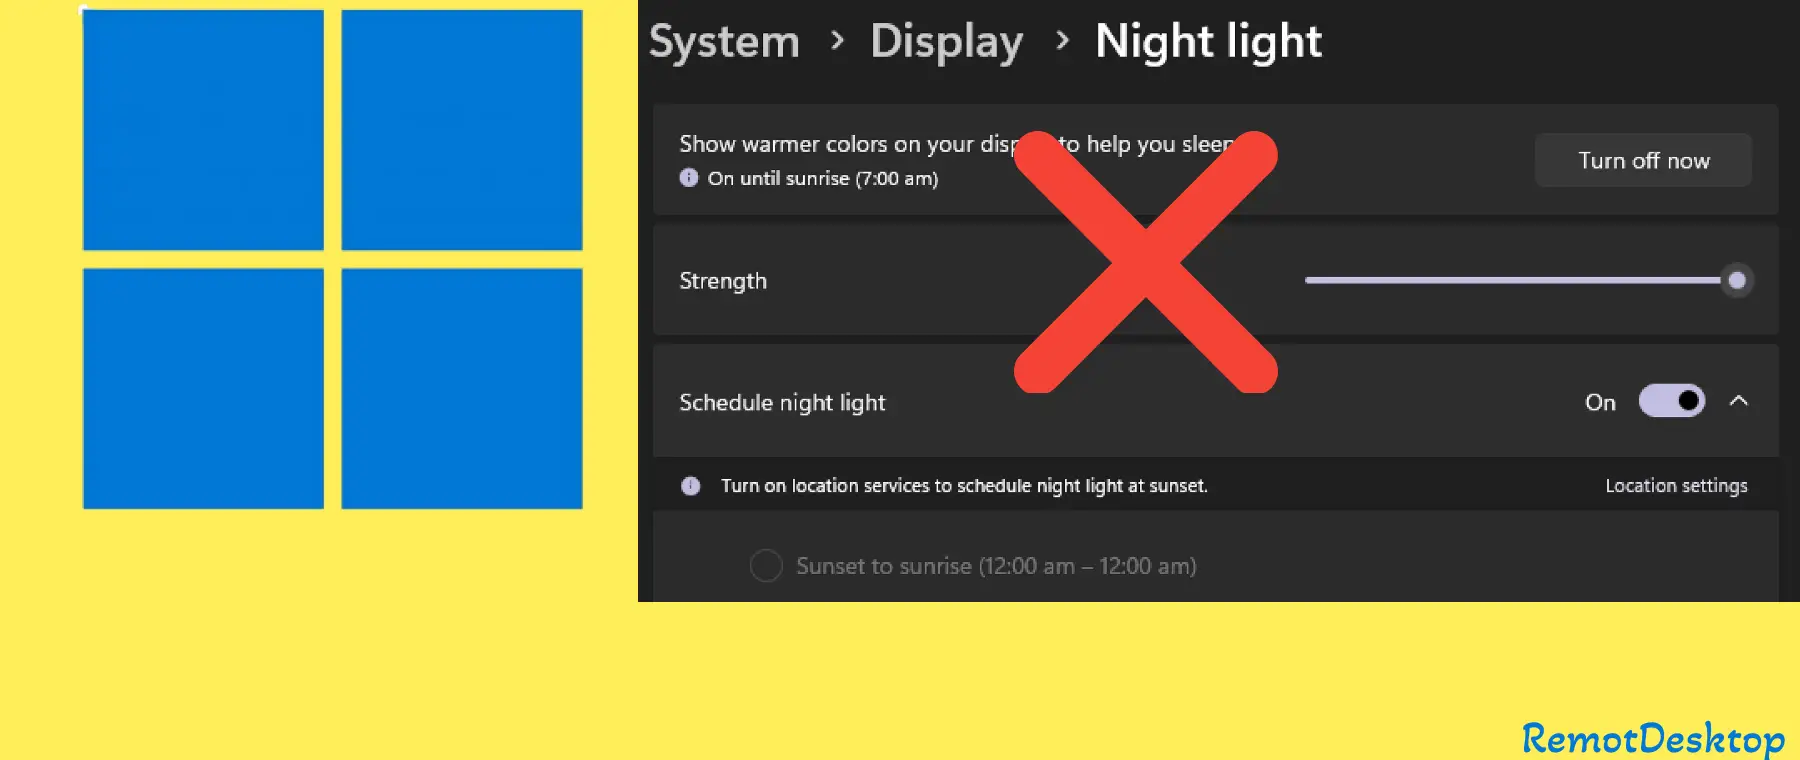
Night Light Not Working on Display Monitors Windows 10/11
Quick Fixes
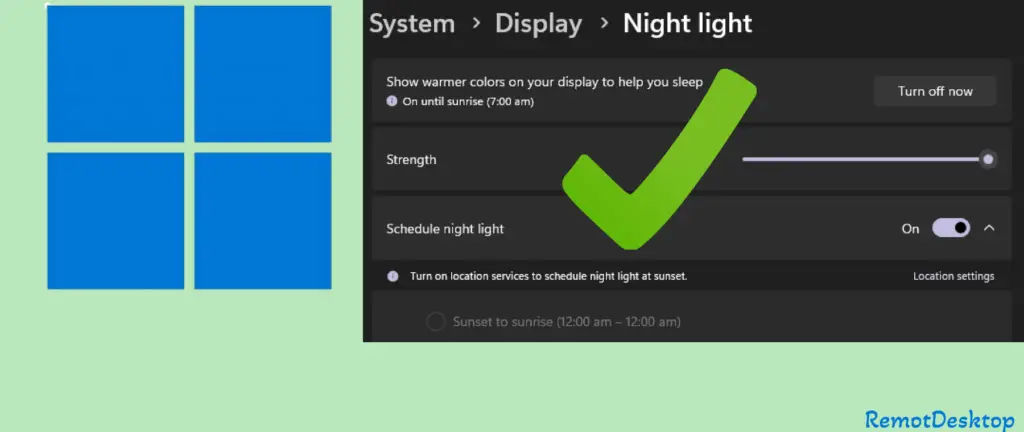
Toggling the Night light ON/OFF would fix the issue. Go to “Settings” and then type “Night Light” in the search bar. Now, press the toggle button for the Night light to turn OFF and then again press to turn it ON.
If still, the issue is intact after updating the drivers with the help of Auslogics driver updater, then try some other fixes to resolve the issue.
Reset Night Light in Regedit
You should edit the files in the Windows registry to manually reset the Night Light feature of Windows.
Step 1: Press the “Windows + R” key to open the Run dialogue box.
Step 2: Next, type “regedit” and then click “OK” to launch the registry Editor and continue with “Yes” if the prompted message appears on the screen.
Step 3: Now, copy and paste the following in the address bar of the registry editor and press enter to execute.
Computer\HKEY_CURRENT_USER\SOFTWARE\Microsoft\Windows\CurrentVersion\CloudStore\Store\DefaultAccount\Cloud
Step 4: Now, you should delete the following two registry keys one by one in the cloud folder.
default$windows.data.bluelightreduction.bluelightreductionstate (Right-click & “Delete”)
default$windows.data.bluelightreduction.settings (Right-click & “Delete”)
Step 5: After you have deleted both of the above files, now close the registry editor.
Step 6: Finally, reboot your PC and check if the problem is gone or still persists.
Scan Window Files
Your computer might be suffering from some corrupted Windows files, therefore you should run some commands in the terminal to scan and recover the corrupted files.
Step 1: Type “PowerShell” in the Windows start menu search bar.
Step 2: Right-click on “PowerShell” and then select “Run as administrator”.
Step 3: Now, type and execute the following command one by one in PowerShell.
sfc /SCANNOW
Dism /Online /Cleanup-Image /ScanHealth
Dism /Online /Cleanup-Image /CheckHealth
DISM /Online /Cleanup-image /RestoreHealth
Step 4: At last, restart your computer and then check if the Night Light is working or not.
Update the Video Drivers
If your computer has a graphic card equipped in it such as NVIDIA or AMD or it might be Intel, then you should check for the latest video drivers.
To avoid the hassle and save time, you should download the Driver Booster for Windows. Launch the application and it will automatically scan for all the drivers.
Further, follow the on-screen instructions to download and install all the required drivers.
Set Data and Time Correctly
The Night Light feature in Windows 10 and 11 requires you to set the schedule. So that, it might activate and deactivates according to the scheduled time you have set.
In case, the date and time on your PC are incorrect, then the Light Night feature will not work properly.
Step 1: Right-click on the “Date & Time” at the bottom right corner of the taskbar and then select “Adjust date & time”.
Step 2: Now, check whether the Date and time are set correctly for your time zone. If you find it incorrect, then manually change the Date and time.
Step 3: You should disable both these options “Set time automatically” and “Set time zone automatically” before changing the time manually.
Step 4: After that, click the “Change” button and set the “Date and Time” accordingly.
Enable Locations Services
To let the Night Light feature work properly on your computer, you are required to enable location services. This is because the feature requires to get data from sunset and sunrise parameter which depends on your location.
This could be only possible if you allow Windows to access the location services.
Step 1: Open the “Settings” on your Windows.
Step 2: Now, type “location” in the search bar at the right.
Step 3: Now, select “Location Privacy Settings”.
Step 4: Finally, turn ON the toggle button for “Location services”.
Use Third-party app
There do exist some popular third-party apps and the best alternate to Windows Night Light feature is the f.lux.
So, if you are struggling with the Night Light feature on Windows 10 and 11, then why not use the f.lux application?
This application has a lot of adjustment parameters that rely on specific times of the day.
Conclusion
If the Night light is not working on any of the displays connected to your PC, then first of all make sure the updated display drivers are installed. After that, Toggle ON/OFF the Night Light feature in the Windows settings.
You should check for any recent Windows update in the settings. After that, enable the location services in the Windows settings.